Garden
Alocasia Polly Beautifies Your Interior Like Nothing With Least Care
If all plants are green, how can we decide which plant will grow and which will not?
Probably because of their uniqueness and ease of growth, right?
But what if these two features were combined in one facility?
Yes, Alocasia Polly is such a plant.
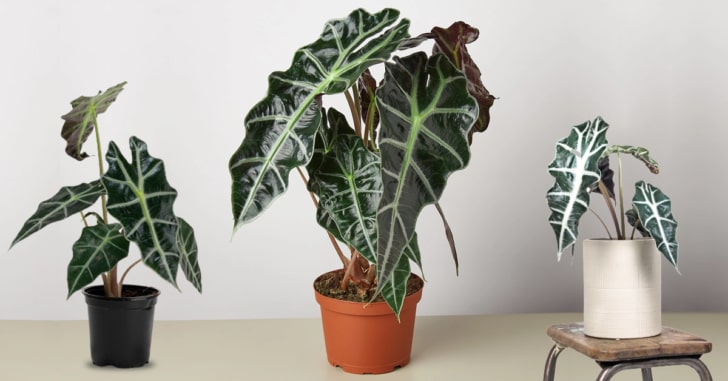
Huge leaves with visible veins look like a vector image of a leaf.
So, let’s dig deeper into how it can add beauty to your home.
Table of Contents
What is Alocasia Polly?
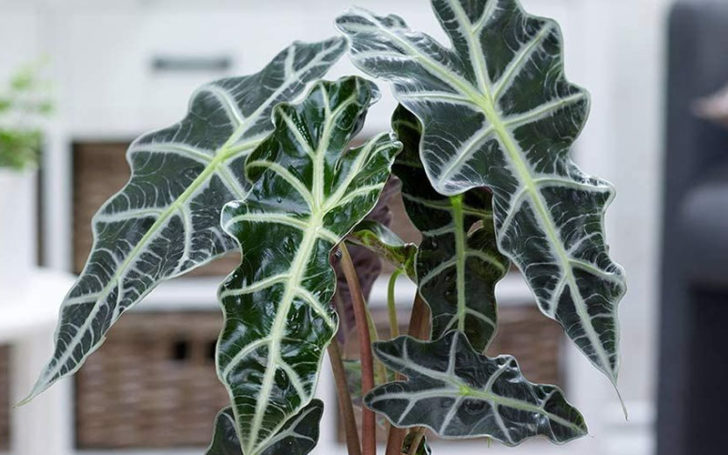
Alocasia Polly or Alocasia Amazonica Polly is a hybrid of two different Alocasia plants. It is known for its large arrowhead-shaped leaves with visible thick veins. Other names are Elephant’s Ears or African Mask plant. It is native to the tropical regions of the South Pacific Islands.
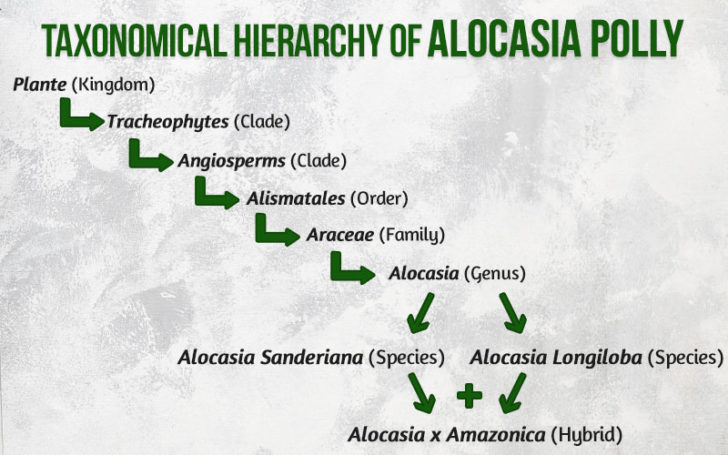
Scientifically, Alocasia x Amazonica is a hybrid between two Alocostia species, Alocasia longiloba and Alocasia sanderiana.
Plants in the Araceae family got their name because of their beautiful foliation.
Some have a silvery color, like the dumb cane and Scindapsus pictus, and some have scary leaves, like this Alocasia Polly.
Taxonomical Hierarchy of Alocasia Polly
Characteristics of Alocasia Polly
- The leaves of this plant are dark green, large, wavy, waxy and arrowhead-shaped.
- The back of the leaves has a dark purple hue with visible veins.
- Quite interestingly, Alocasia leaves last 4-5 months before they start to wilt.
- When the bulb or rhizome dies, it must be placed in fresh soil.
- They need medium to high humidity.
- It grows to a height of 1-2 meters.
- Performs best in partial shade.
Overview of Alocasia Polly
| Name | Alocasia Amazonica (Elephants’ Ears) |
| Height | 1-2 feet |
| Spread | 1-2 feet |
| USDA Zone | 10-12 |
| Plant type | Hybrid |
| Light Needs | Partial Sun |
| Water Needs | Average |
| Soil Type | Acidic, Moist and Well-Drained |
How to Propagate Alocasia Polly? (Division)
The spread of Alocasia Polly is called Division.
Because unlike other plants, propagation does not involve planting stem cuttings.
Why? Because Alocasia Polly is a tuberous plant that grows from an onion.
The Alocasia Polly Chapter involves completely getting rid of the old soil and reintroducing it.
Division or propagation should ideally be done in spring or early summer.
Why spring or early summer? Because the plant comes out of sleep mode after winter.
So, let’s move on to the first step of this Chapter process.
Step 1 – Digging Out the Alocasia Bulbs
As a first step, dig around the plant and carefully remove it.
Be sure to dig the soil up to a 6-inch radius around the plant to keep the roots safe.
After digging, brush the soil with your hands. (Always wear gardening gloves with protective claws before working in the garden)
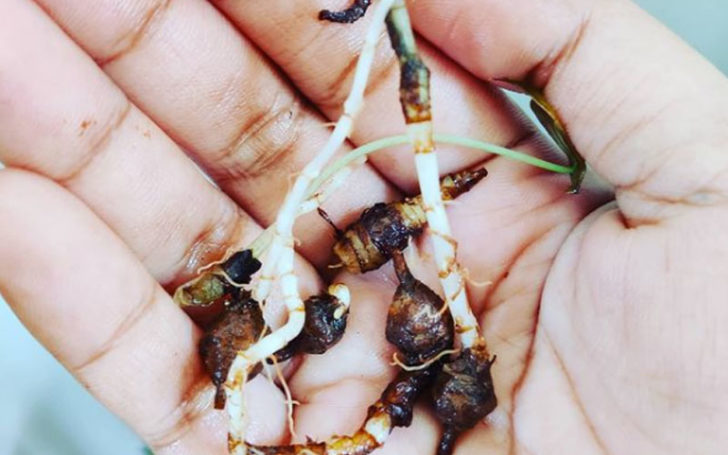
As you lift the soil you will see many young tubers or rhizomes. Be careful not to throw it into the ground.
The big tube can also be a collection of 2-3 tubes. So separate them all as each tube can grow individually.
Step 2 – Replanting the Alocasia Bulbs
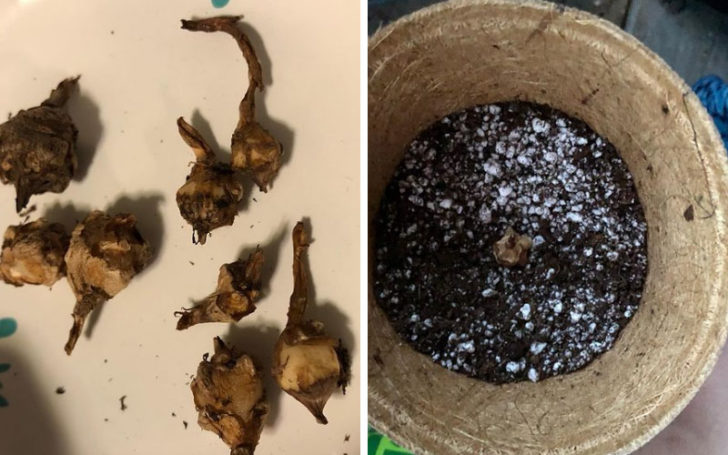
The next step is to plant the reserved Alocasia Polly bulbs in a fresh earthen pot.
If it will be in a pot, there should be one bulb in each pot.
Conversely, if you’re going to grow them in the garden, keep each bulb at least 36 inches apart.
With a garden drill, dig a hole deep and wide enough to accommodate the bulb.
Insert the bulb into that hole and cover it with soil. We’ll discuss further below about the ideal soil type for Alocasia Polly.
When planting the bulb, make sure it stays a few centimeters above soil level.
Water well.
The video below can better explain the aforementioned process. So take a look.
Alocasia Polly Care
Alocasia Polly is a relatively easy plant to care for. The soil should be moist, but not saturated. Do not water until the soil is partially dry and keep at 18°C to 25°C.
1. Soil Type
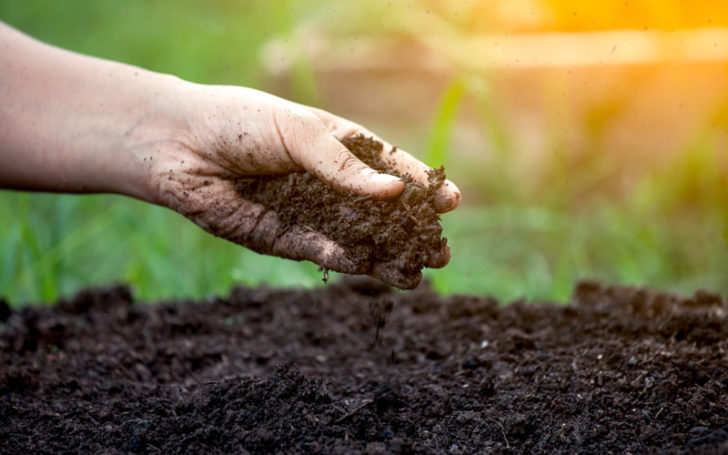
Alocasia grows well in well-drained moist soil, but should not be too waterlogged or wet, exactly as Scindapsus pictus requires.
A perlite mix loamy soil with a slightly acidic or neutral pH (6.0-7.3) is the best choice for this plant to get essential nutrients.
It is important to note that,
Sandy soil drains faster and therefore holds less water.
Conversely, clay retains more water than necessary, making it difficult for roots to spread.
Therefore, any of these soils can be amended with organic matter or compost before use.
2. Water Need
Keeping the soil moist is essential, overly moist soil is harmful.
Watering once or twice a week is sufficient.
But this is just the basic rule.
The correct way is to wait until the soil is partially dry. Then water evenly with just a jet of water.
3. Temperature Required
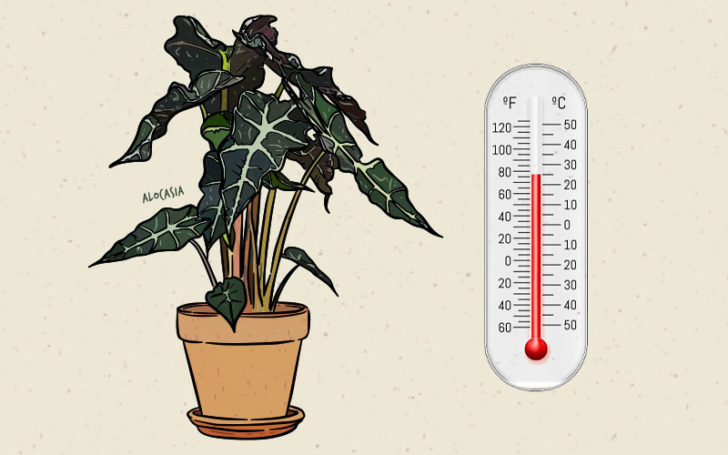
The average temperature required for this facility is between 18°C and 25°F.
It cannot tolerate freezing temperatures. Therefore, a moderate temperature is required for this plant.
4. Humidity Required
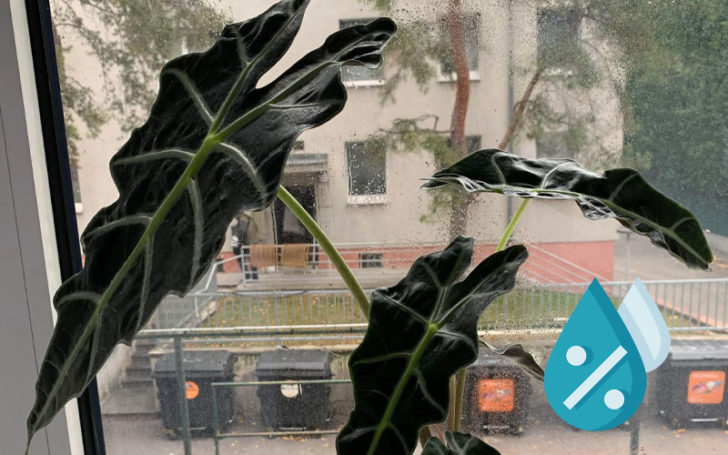
Alocasia Polly requires a medium to high humidity level,
Normally found in the kitchen and toilets.
To keep it indoors, try placing the pot on a damp pebble tray or just misting it.
The best time to mist tropical plants is early in the morning, as misting at night can cause diseases in your plant.
Now the question arises, how often should you steam?
Doing it once a day is perfect for your plants with a humidifier or manually with a spray bottle.
Watch the video below to learn in detail how to mist your plants correctly.
5. Light Need
Does Alocasia need sun?
Alocasia requires bright indirect sunlight. An east-facing window is a good option.
But at the same time, Indirect light can be called low light, which is also harmful to this plant.
On the other hand, exposure to direct sunlight also causes its leaves to burn.
Therefore, moderately bright indirect light is perfect.
6. Fertilizer
A balanced fertilizer between the 10-10-10 and 20-20-20 varieties can be called a good Alocasia Polly fertilizer combination.
Fertilize with half the amount specified on the label 3-4 times a year, excluding winter.
Why half the recommended amount?
Because excessive fertilizer can kill the plant.
7. USDA Zone
The USDA hardiness zone for this plant is 10-12.
8. Pests
Alocasia Polly is quite durable as it belongs to the Araceae family.
The only pests that can attack this plant are common houseplant enemies such as spider mites and mealybugs.
9. Pruning
How big does Alocasia Polly grow?
It grows to 2 feet in height, but still needs to be pruned in the right season without worrying about its height.
Pruning is much easier with Alocasia plants.
Remove the dead or yellow leaf at the base with a sharp knife or inoculant, leaving behind the green stem on the bulb.
Diseases That May Catch Alocasia Polly
1. Browning of Leaves
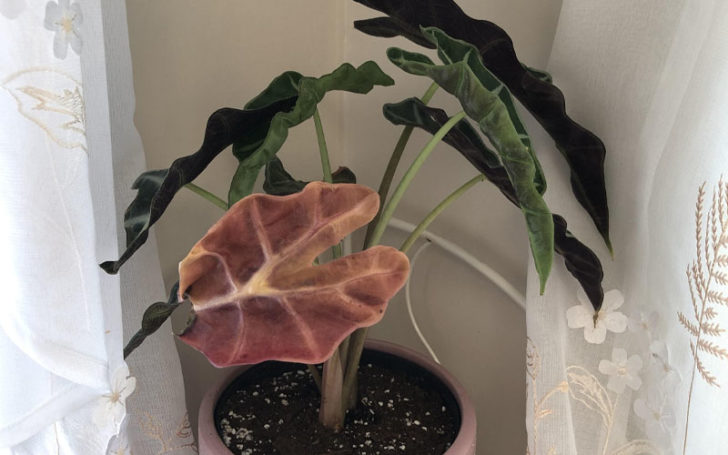
Indicates that the plant has been submerged or in some cases exposed to direct sunlight.
That’s why bright and indirect sunlight is recommended.
2. Yellowing of Leaves
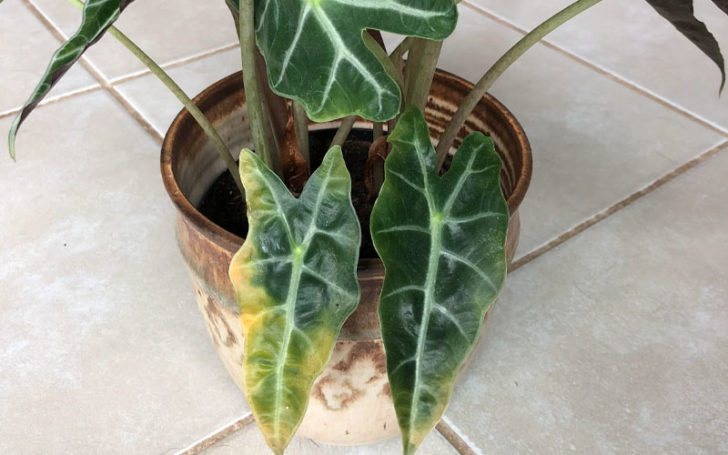
Worried about the yellowing of Alocasia Polly leaves?
If so, it means the plant has been overwatered. It’s that simple!
The rule of thumb is to never water such plants until the top layer of soil is completely dry.
3. Drooping of Leaves
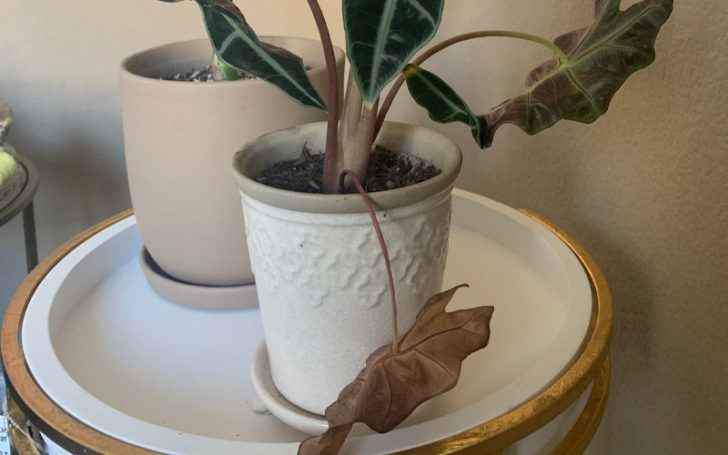
Alocasia Polly sagging is another problem you may encounter.
There can be more than one reason for sagging.
It may be too light or too little, it may be over or under watered, it may be above or below the nutrients in the soil, or it may simply be too heavy for the large leaf to remain intact.
The immediate solution is to stake the drooping stem until it heals.
However,
Another point to note about Alocasia Polly is this:
This plant goes into hibernation mode in the fall and winter. The leaves may wilt or die during these months, this is absolutely normal.
So when people said ‘Alocasia Polly roots’ died when they fell asleep,’ they were talking about something normal about this plant.
4. Leaves Dripping
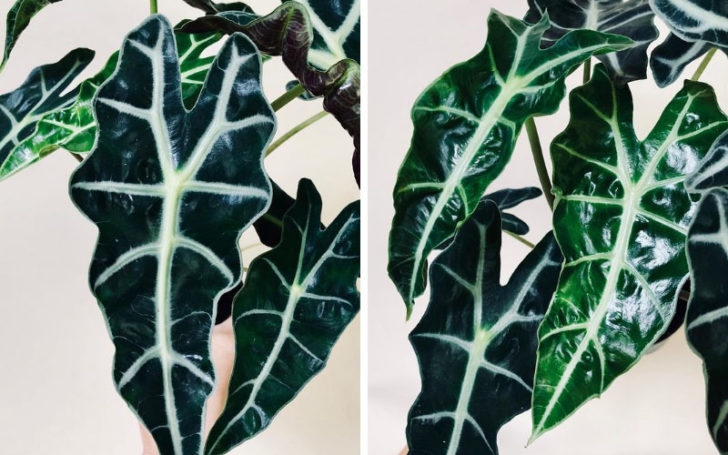
Dripping or weeping leaves of Alocasia Polly are a sign that the soil is too moist or not well saturated. In other words, the plant has more water than it needs.
The simple solution to this problem is to start watering the plant less than you do.
Myth And Truth about Alocasia Polly
Some experts, such as the Exotic Rainforest, have different opinions on the naming of this plant.
Their argument carries weight.
Why?
That’s because they specialize in collecting more than 3700 species from different plant families, including Araceae.
Sellers advertising ‘Alocasia Polly for Sale’ falsely claim that this plant comes directly from the rainforest.
Their research reveals that:
- The correct way to spell the name of this plant is Alocasia Amazonica, not Alocasia x. amazonica
- The word amazonica is a misnomer because this plant has never been found in the rainforests of the Amazon or South America.
- Its name is horticultural and not scientific. Therefore, the name should neither be enclosed in single quotes nor italicized.
- It is sometimes confused with Alocasia micholitziana.
- The origin of this plant is a nursery called ‘Amazon Nursery’, which was owned by postman Salvadore Mauro in the 1950s.
Don’t do these things to your Alocasia Polly plant
- Do not put in harsh temperature conditions such as below 18°.
- Do not water until you see that the top layer of soil is dry.
- Do not allow children and pets to eat it as it is poisonous.
- Do not expose to direct sunlight – only bright indirect light.
- If it is dead, put it elsewhere with different soil.
Is Alocasia Polly toxic to cats and dogs?
Is the Alocasia Polly plant poisonous?
Yes, all plants belonging to the Araceae family are toxic to pets.
Therefore, it is better to keep them away from cats and dogs, especially those who eat grass very often.
Conclusion
Commonly known as elephant ear or Alocasia Amazonia, this herb is ideal if you want to make another addition to your houseplants. Large green leaves with visible veins are some of the unique features of this plant. It is usually propagated by Division, an onion planting method, as opposed to root cutting or seeds.
Well, do you want giant leaves in a small pot? If your answer is yes, try growing this plant by following the comprehensive instructions outlined above and share your experience with us.
Also, don’t forget to pin/bookmark and visit our blog for more interesting but original information.

